Skip to content
 ECKOWOOD ENGINEERING HARDWOOD FLOORS
PREPARATION AND GENERAL PROCEDURES
Eckowood engineered floors can be installed directly over most existing floor coverings, except for carpet. Any existing wood flooring that is glued to the concrete must be removed before installation. It is very important to acclimate the wood to the room temperature before installation. Open boxes at both ends to allow air to circulate through planks. If planks are covered with a plastic wrap, cut plastic at both ends to allow proper air circulation. Allow planks to lay flat in cartons for 48 to 72 hours prior to installation (or longer in extreme climates).
Air conditioning and heating systems should be in place and operating 14 days before installation, keeping room temperature maintained within a range of 60º to 80º F year round. Relative humidity in the room/building should be maintained between 30% to 50% year round. The proper use of a humidifier or de-humidifier is recommended.
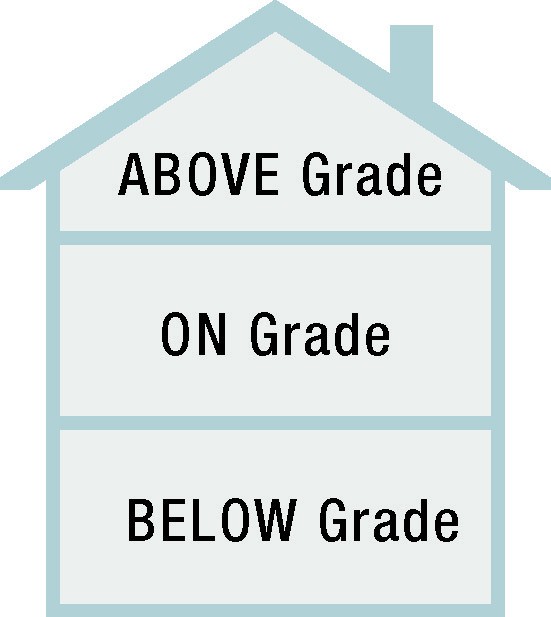
Eckowood Hardwood Planks can be installed using any method over wood, concrete, and other approved subfloors. Above grade, on grade or below grade. Depending on the species, the visual differences from board to board might be pronounced. It is recommended working from several cartons alternatively. Select the most appealing blend of colors and grain for best overall appearance. It is also recommended that the direction of the flooring is parallel to the longest wall in the room or hallway. Always allow a minimum of 3/8” expansion space between walls and flooring edge. Use temporary spacing wedges for this purpose (remove upon completion).
Eckowood hardwood Floors recommended 3 main methods of installation: Float, Glue, and Nail installation. Float installation is the fastest type of installation, glue is applied into the plank (board) groove, and seat it by tapping with a hammer and a tapping block. For this type of installation flooring underlayment is required.
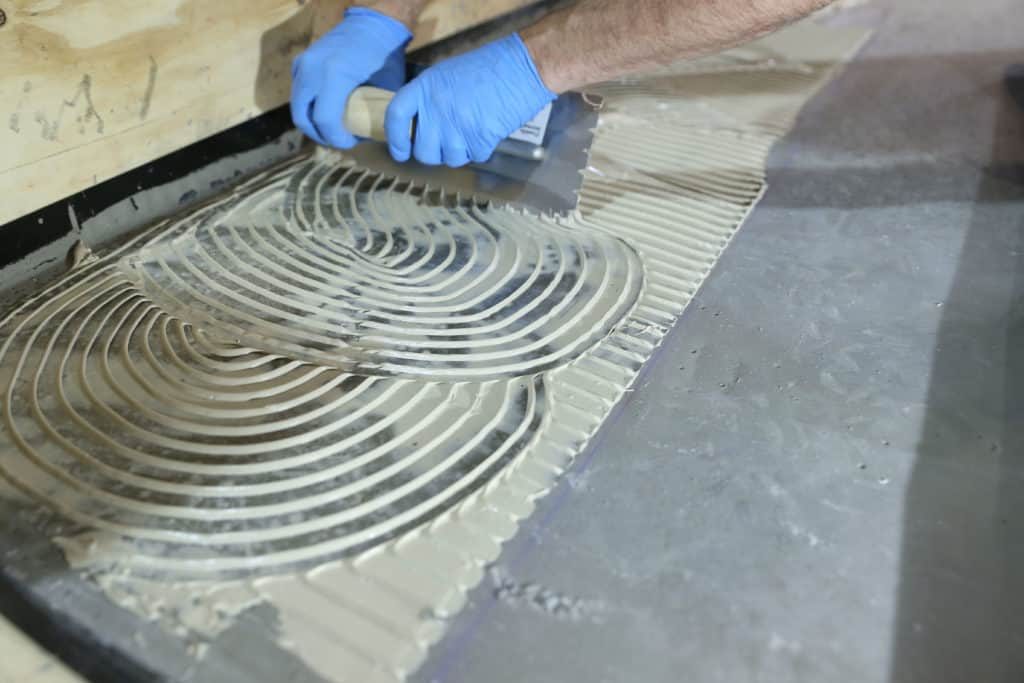
Glue down installation – Eckowood recommends urethane adhesive and, if required, concrete sealer for the installation of our products. Carefully read and follow the instructions provided by the adhesive manufacturers for the use and application of their product. Check with your flooring retailer for other adhesives and sealers that are compatible with engineered floors. Be sure to clean any surplus adhesive off the surface of the plank as you go. Do not let it dry. Use a Urethane adhesive remover for this purpose.
The first step is to find a starting line. Snap a line from the wall the width of 2 or 3 boards plus a 3/8” expansion space. Nail a holding board, i.e. 1” x 2” or 1” x 4” length of straight wood along the line, this will help keep the first rows straight and firmly in place. Apply the adhesive and place the first plank down up against the holding board with the groove side facing the wall. Continue laying the planks using the tongue and groove method. Gently tap the planks together using a rubber mallet and press down into the adhesive. Be sure to leave the expansion gap at the beginning and end of the row. Continue laying the second row, staggering end joints of boards
from row to row a minimum of 8” and 10” apart. If necessary use blue installers tape to maintain a tight floor.
Repeat row-by-row using the same method until the entire section is complete. Remove the starting board and complete the area from the starting board to the wall.